
Create lasting memories with an heirloom party decoration that will adorn your celebrations again and again. Ready for a simple DIY? Let’s make a reusable pennant flag bunting! This classic celebration staple is perfect for all kinds of events, from birthdays to baby showers and everything in between.
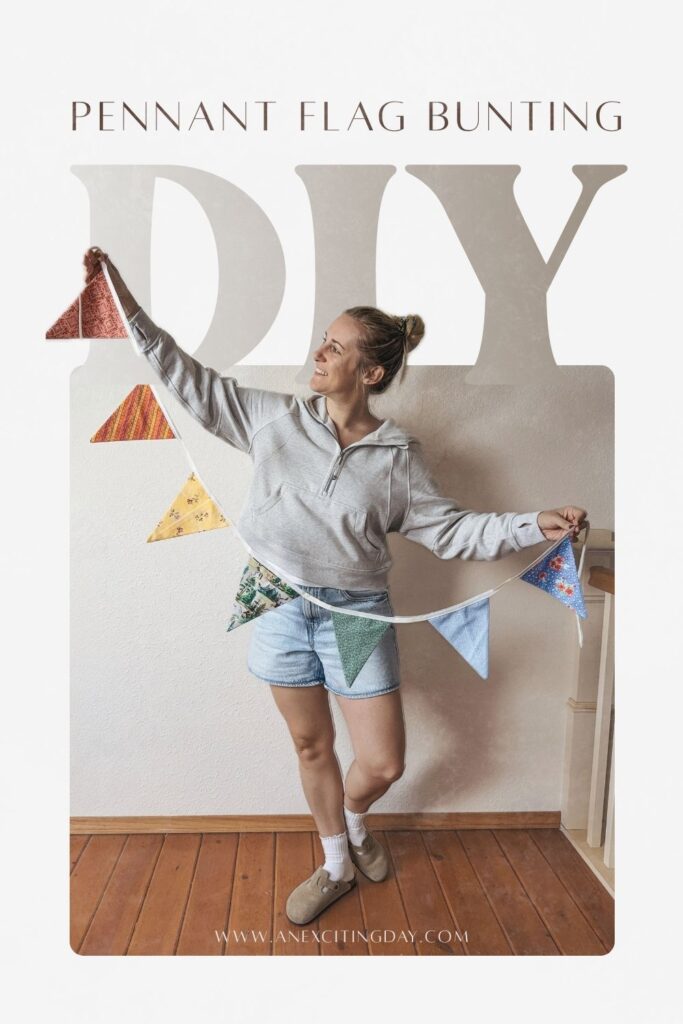
Choosing party decorations can be overwhelming! Of course you want your event to look aesthetically pleasing. But you may not want to break-the-bank for a “Pinterest Perfect” party every time you host. Then come the intrusive thoughts: “Am I doing too much or too little?” and “Will these decorations last beyond one event?”
Instead of reinventing the wheel for every occasion, create a signature decor style you can use again and again. One way to accomplish this goal is with heirloom decorations that will stand the test of time. A fabric pennant flag bunting is a great piece to have in your party planning arsenal!
Even casual gatherings can feel more special with reusable party decor, like a fabric bunting. Create a variety of pennant flag buntings for your store, and you’ll have options for every theme. Keep reading for all the details on how to sew your own pennant flag bunting.
There is a supply list at the end of this post that sources the exact items I used, if still available. Also included are the closest substitutes I could find online.
Related Posts:
– DIY Toadstool Backdrop with Door
– Easy DIY Fairy Wands
Note: This post contains affiliate links, which means I make a small commission at no extra cost to you. I’m not a professional seamstress and don’t claim to be an expert on the topics discussed in this blog post. I’m simply sharing my experience for anyone interested in trying out this craft. See my full disclosure here.
DIY Pennant Flag Bunting
Step 1 – Squares and Triangles
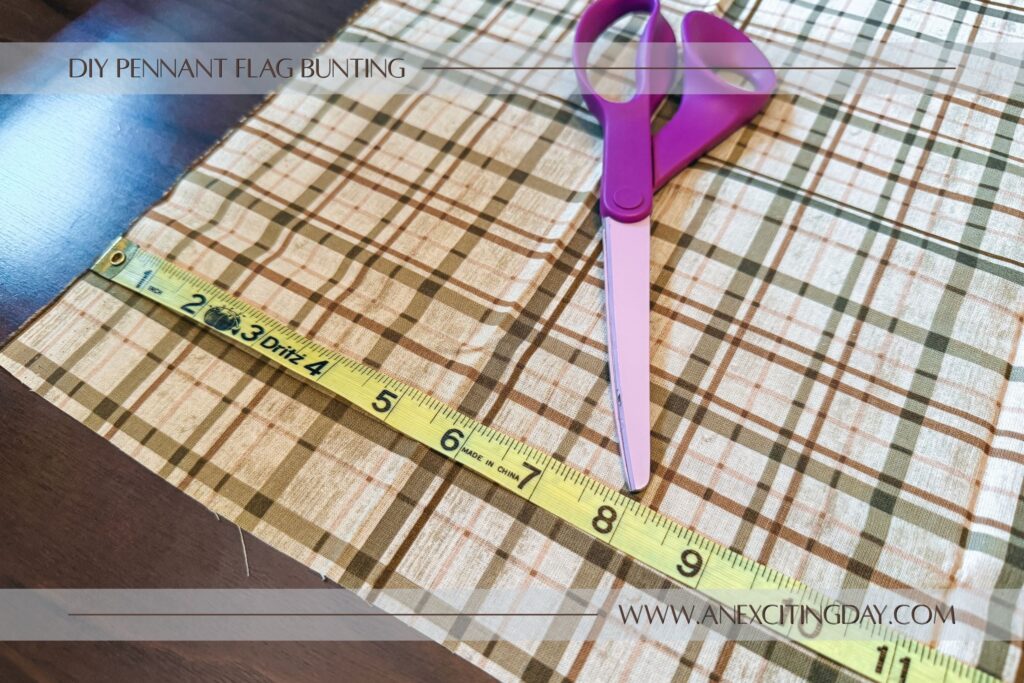
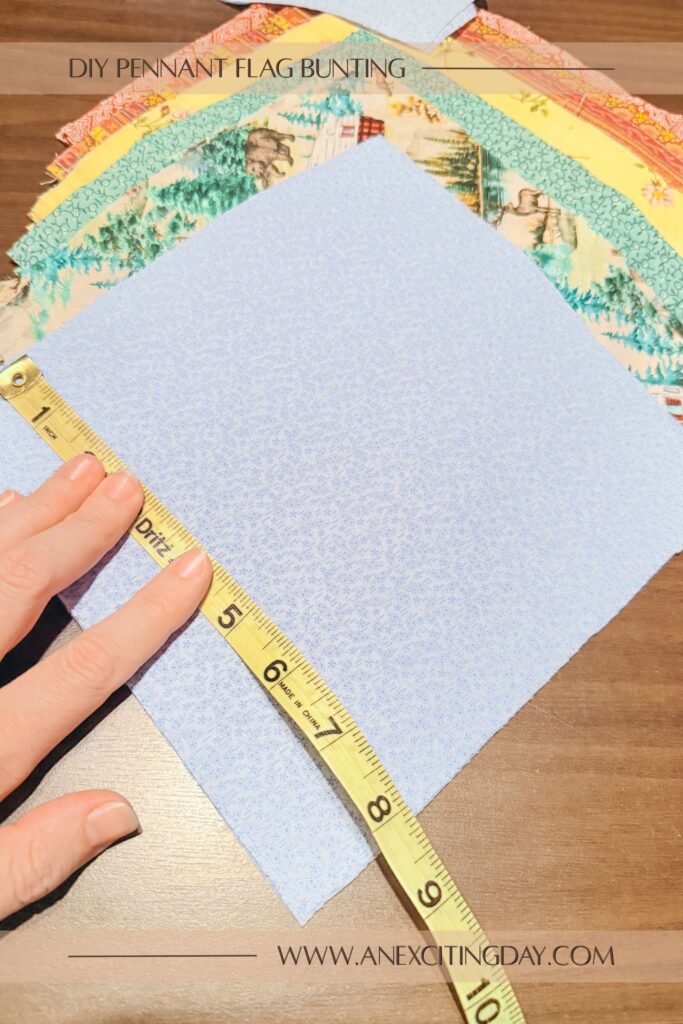
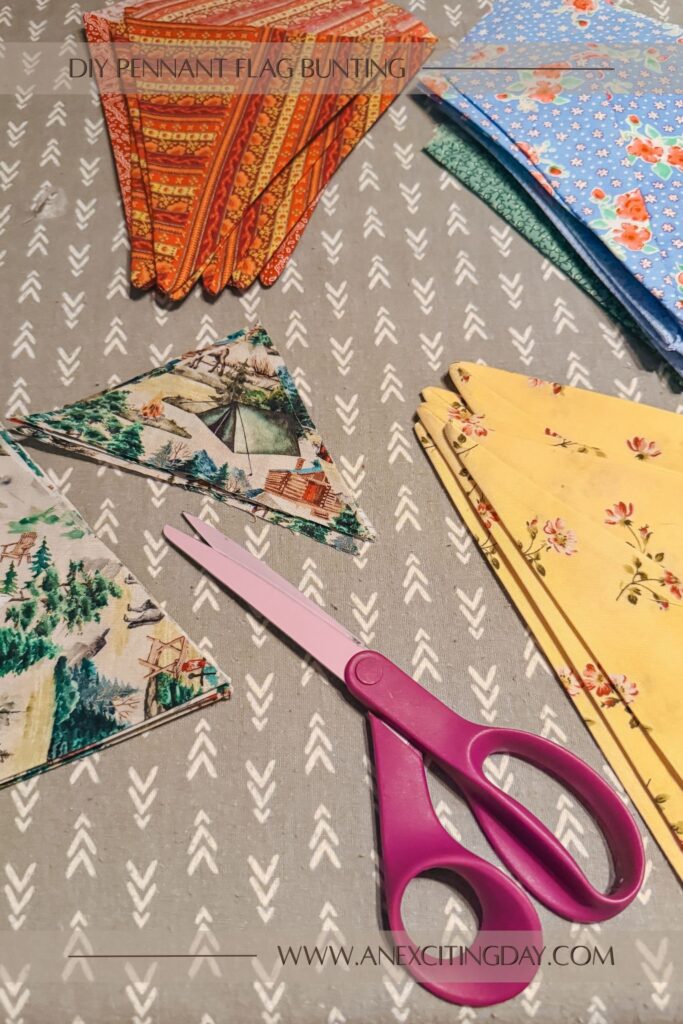
Start by laying out your fabric and planning your cuts. The goal is to get as many 8 inch by 8 inch squares from your fabric as possible. Once you have a plan, proceed to cut your 8 inch squares.
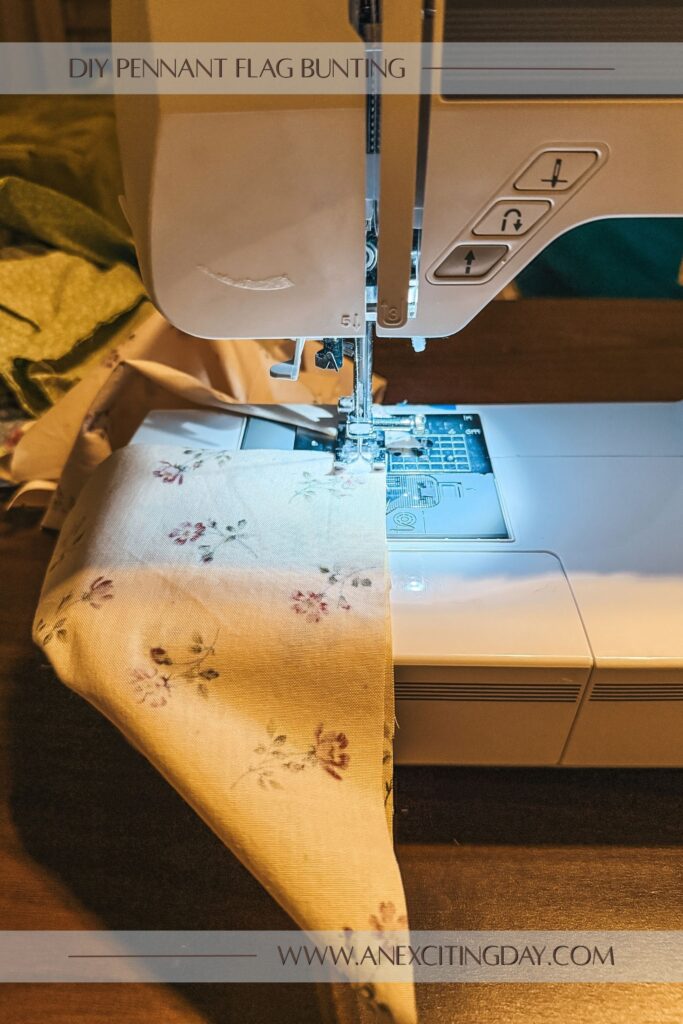
Fold the squares diagonally to form a triangle with right sides (pretty sides) together. Sew along one side of the matched up cut edges. You should now have a “cone” shape if you were to open the pocket you created. Trim excess threads and, optionally, trim the seam allowance at a diagonal where the sewn edge meets the fold. This will help keep your pennant flag tips pointy later.
Step 2 – Reveal the Pennant Flag
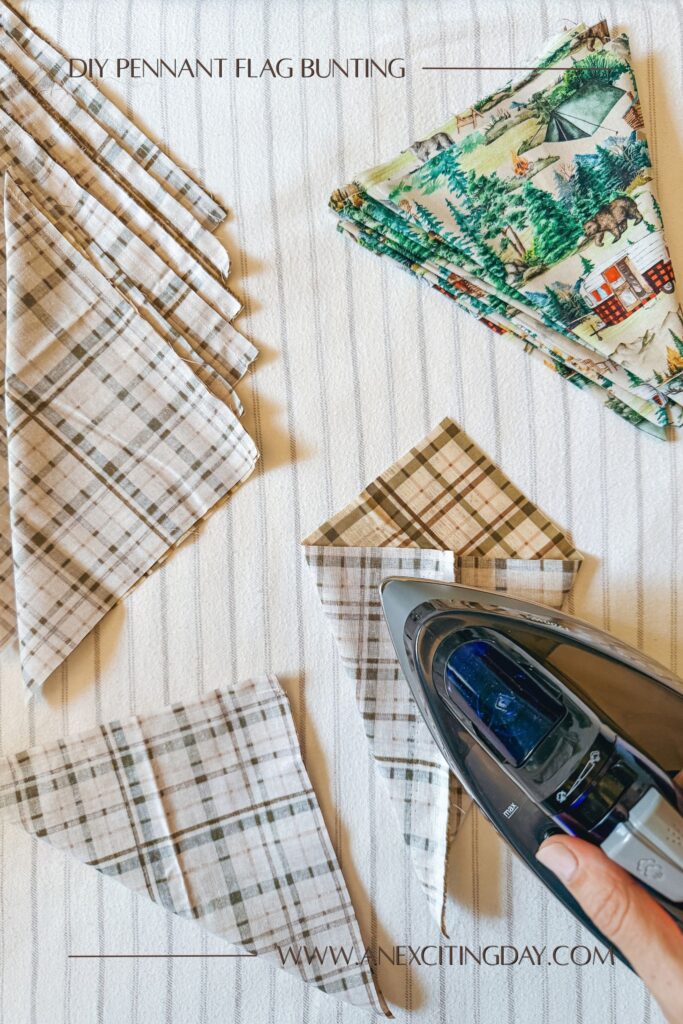
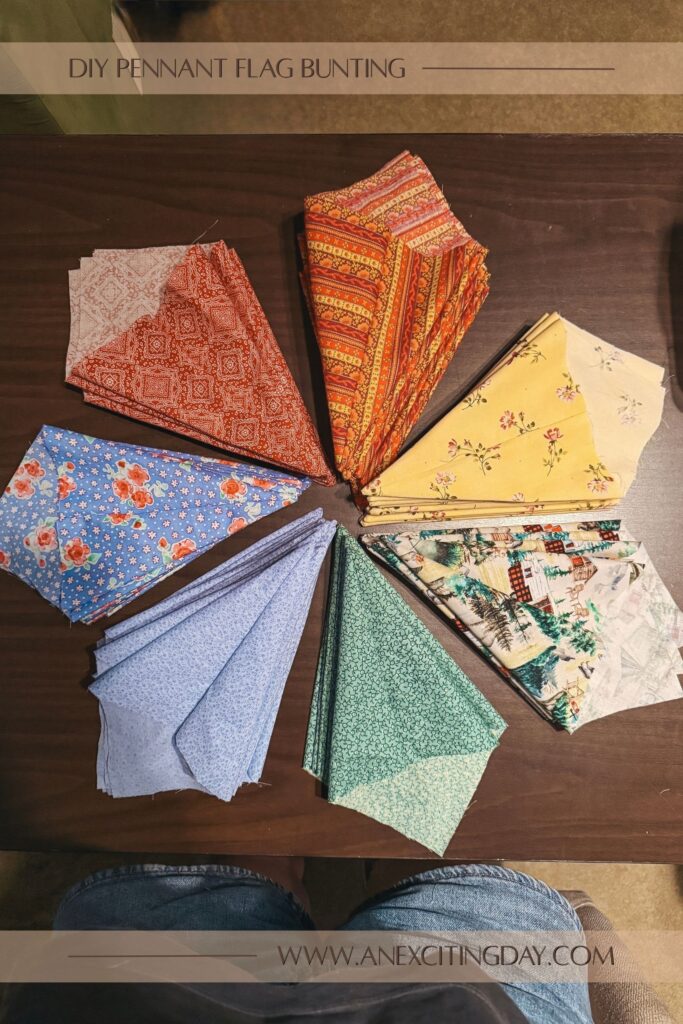
Turn the triangle right side out, then use a dull object, like a bone folder, to push out the tip. Lay your fabric flat on the table in a “kite” shape with the seam running down the center. On an ironing board or other heat-safe surface, iron your “kite” shape flat. Trim the excess triangle at the kite’s top, where the wrong side of the fabric shows. Turn over your sewn triangle to reveal a perfect pennant flag with the seam in the back!
Step 3 – Bias Tape for your Bunting
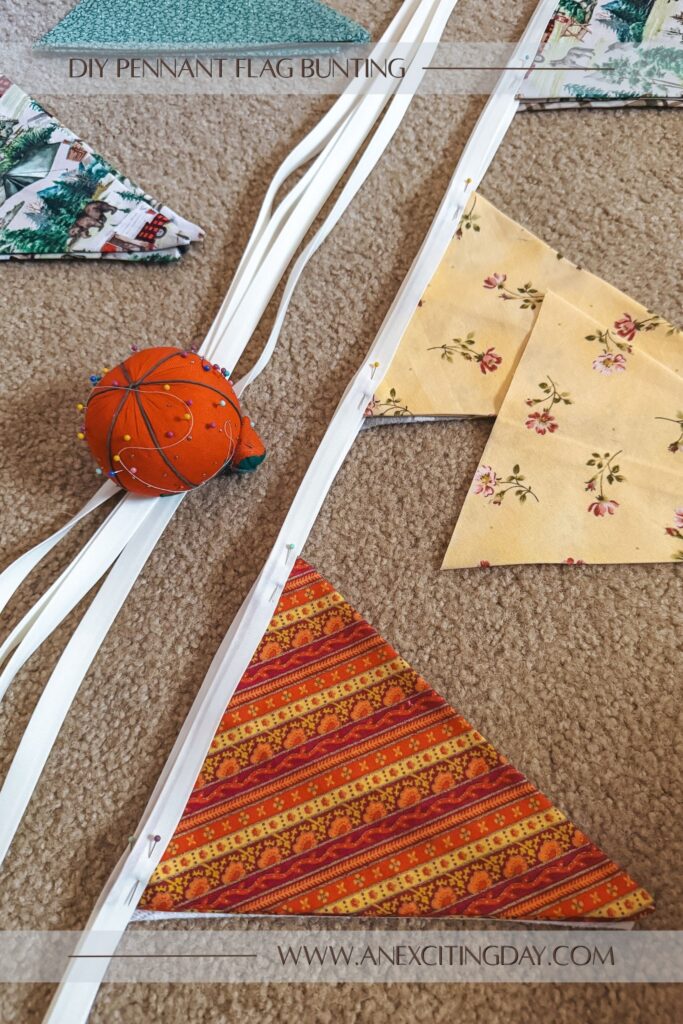
Measure your bias tape, leaving 15–20 inches of extra length on each end for ties. Space each pennant flag as closely or widely as you prefer. I spaced mine about 2–3 inches apart. The number of flags per bunting can also vary based on your design. I’ve made buntings with both 7 and 11 flags. Personally, I prefer 7 flags and plan to tie multiple buntings together for a longer banner. Feel free to create as large or small of a banner as you like!
Now, this next step may seem excessive, but it saves time at the sewing machine and pays off in the end. Slip the pennant’s raw edge between the bias tape folds. Then pin or clip the corners in place. This will help keep everything in place as you sew.
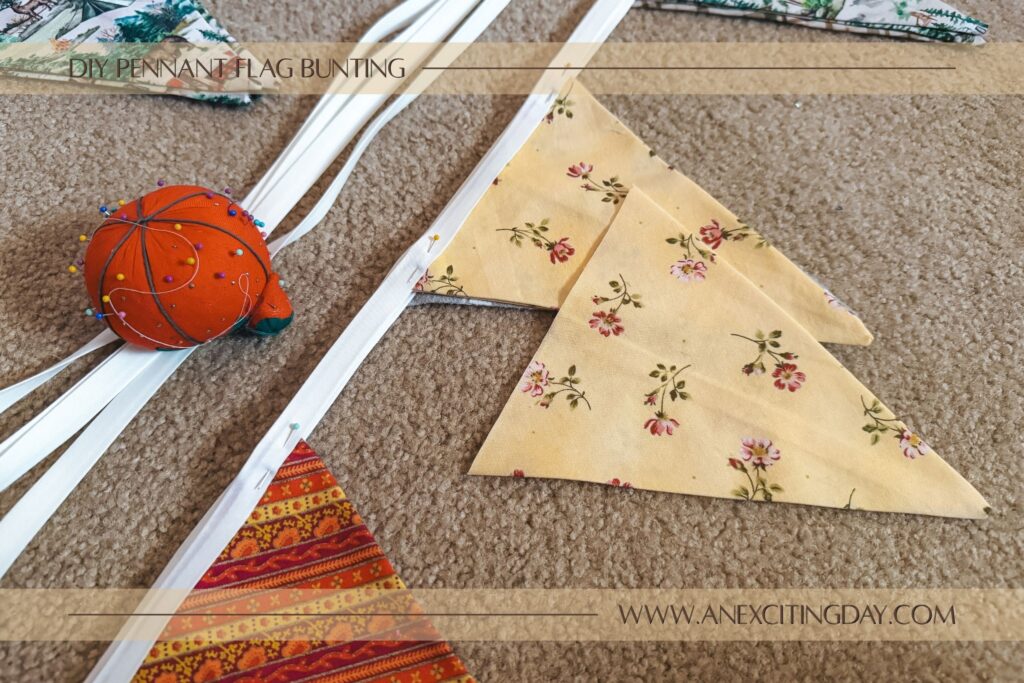
Stitch along the bias tape, either down the center or as close to the flag-side edge as your machine allows. I backstitched at the beginning and end of each flag for extra stability, though this may be optional. I also stitched across the ends of the bias tape for a finished look, but this step isn’t required.
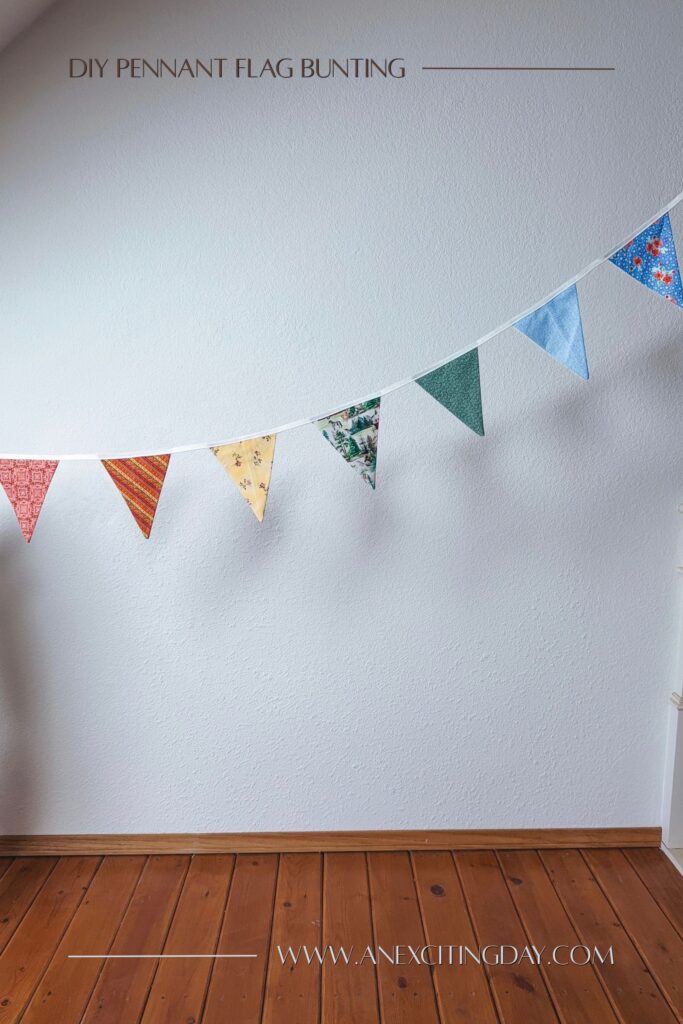
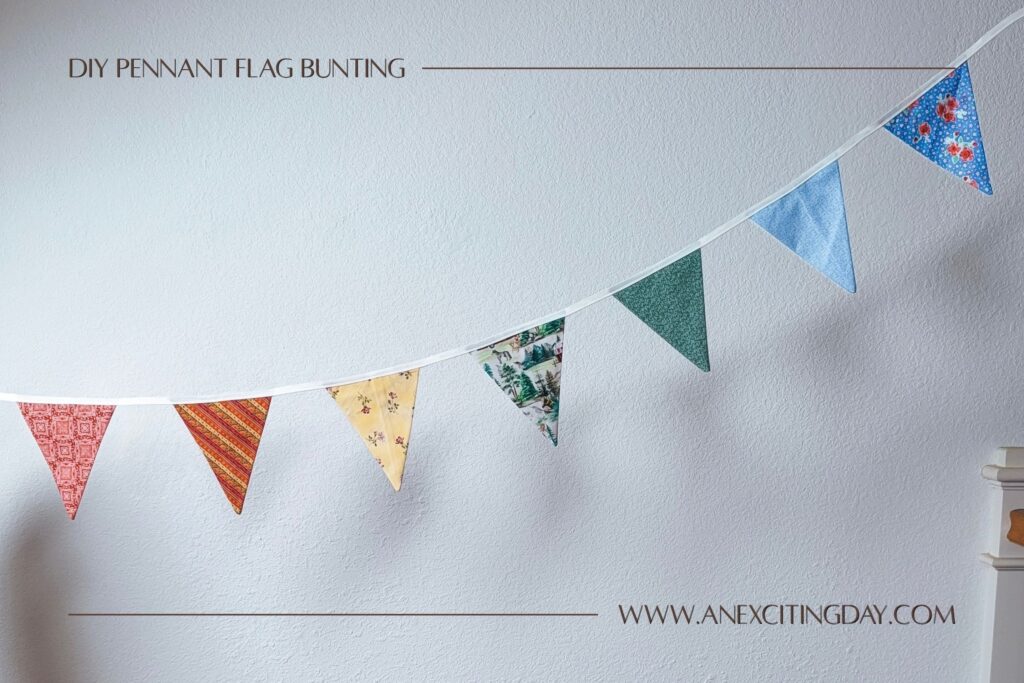
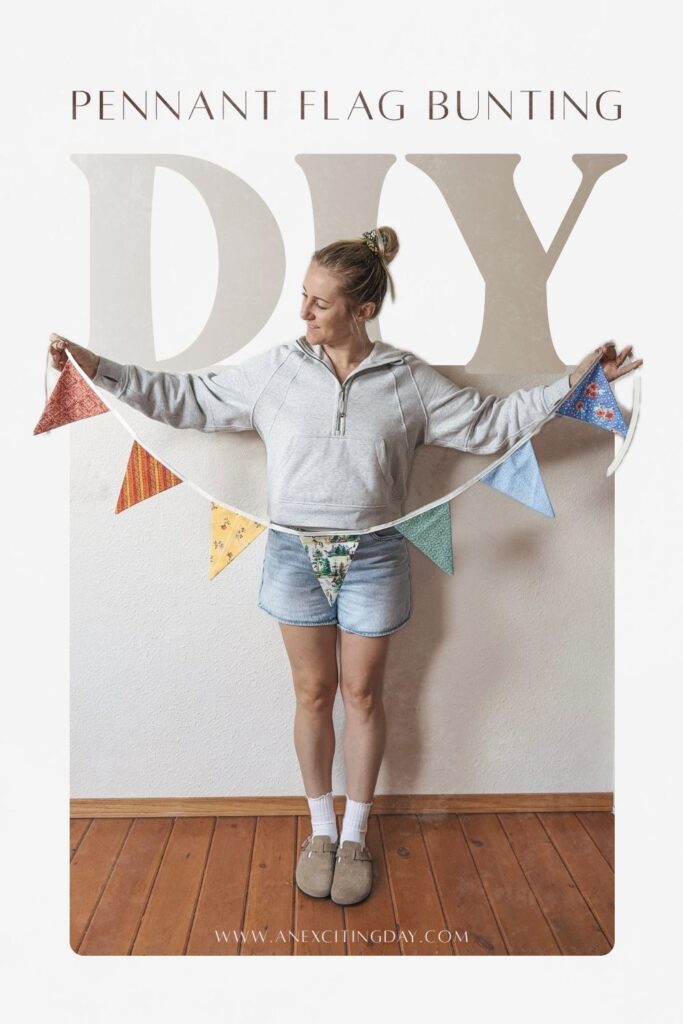
Enjoy your finished pennant flag bunting!
Supply List
A Note About Fabric
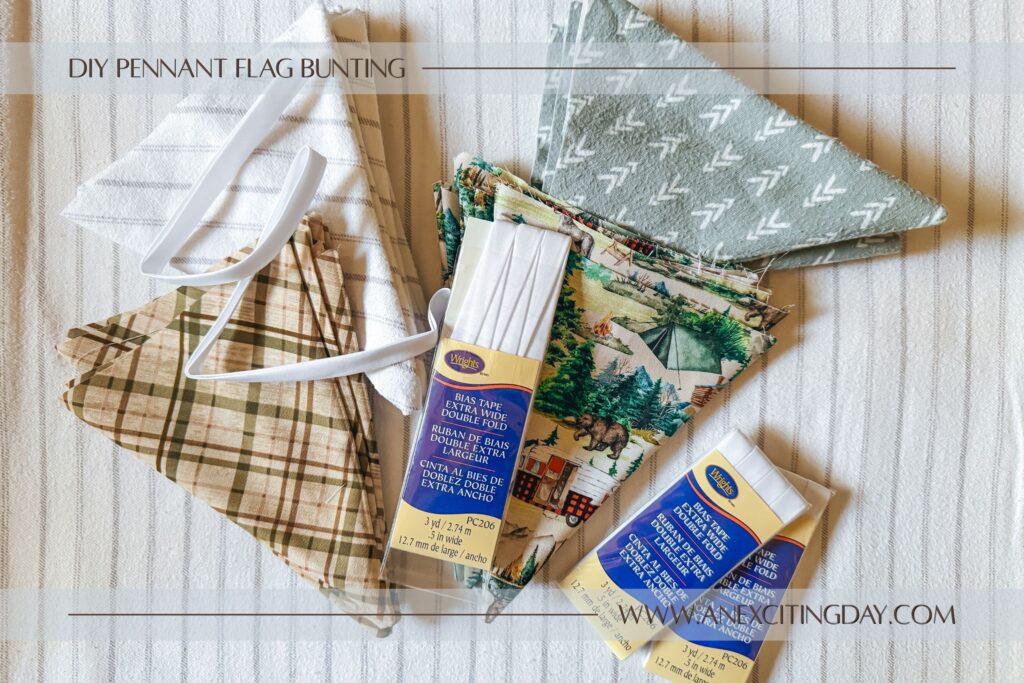
Most of my fabrics were sourced from my mom’s fabric cabinet (Thanks, mom!) and she sourced most of her collection from garage sales and thrift stores. I would highly recommend using 100% cotton for your pennant flags. My first bunting combined cotton and flannel, which worked well overall. However, the cotton pennant flags had crisper edges and were easier to sew onto the bias tape. Prewash all your fabrics prior to sewing if possible to prevent any misshapen flags down the line.
A Note About Bias Tape
The bias tape from my first bunting was sourced from Walmart in a pre-cut pack. It worked great and is perfect for shorter buntings. But if you get bit by the bunting-bug like me, you will want a larger spool of bias tape so as to not limit your length by the pre-cut packs.
List of Supplies w/ Links
– Fabric Squares
– Bias Tape
– Pins or Clips
– Iron
– Sewing Machine
– Thread
– Fabric Scissors or Rotary Cutter
– Cutting Board
– Straight Edge
– Measuring Tape
– Bobbin
– Bone Folder
Conclusion
I hope there is something you were able to take away from this DIY Pennant Flag Bunting blog post. Remember to Pin this post for when you are ready for next steps.
Real Weddings & Events – I am looking for weddings and events to share on the blog! This would include recaps and photos of each special event. Please complete this form, or email me at jenni@anexcitingday.com to be featured in my next REAL WEDDING post!
Vendor Spotlight – Are you a local Northern California wedding vendor? Interested in free marketing? Please email me at jenni@anexcitingday.com to be the next VENDOR SPOTLIGHT on the blog.
Join my email list for a monthly newsletter & blog post updates!

Leave a Reply